
My GOAT Vibe Setup
I've tried a lot of AI workflows over the last couple of months. Some of you might remember my anti-vibe phase. If you missed the memo: those days are over.
I still believe all the concerns I raised back then are valid, but I've also learned that, when used properly, AI can dramatically boost both your learning curve and your productivity. While I'm writing this post, Opencode and Claude are literally writing the blog server that will host it.
From Anti-Vibe to Full Send
My vibe journey started with Cursor.
At the time, I had already been running Neovim as my main editor/IDE for a while, so switching to Cursor was… painful. Going from the raw speed of nvim to an Electron-based editor felt like going cold turkey. Still, the productivity gains from having an AI agent inside my IDE were undeniable.
After just a couple of weeks, I pulled the trigger on Cursor's $60/month subscription—even though I genuinely disliked the editor itself. I ran that setup for several months because, frankly, it was worth it.
Then Opus 4.5 dropped.
I absolutely obliterated my subscription limits and somehow managed to rack up another $90 in usage-based charges. Around that time, a friend suggested I switch to Claude Code instead. The subscription is more expensive up front, but you can actually run Opus full-time without worrying about usage caps.
I was sold instantly.
Not only because running Opus feels like cheating, but because Claude Code runs in the terminal. That meant I could finally go back to working in Neovim.
Claude Code + Neovim
I started with a very bare-bones workflow:
- Claude Code running in a separate terminal
- Neovim doing its thing, completely unaware of Claude
That already worked surprisingly well. Shortly after, I discovered claudecode.nvim, which tightened the integration significantly. Claude Code diffs show up directly as Neovim splits. Much better.
Enter Opencode (The Endgame)
Then I stumbled upon Opencode.
An open-source coding agent that:
- Works with the Claude Pro subscription
- Runs entirely in the terminal
- Integrates with LSPs for better context
- Has a well-maintained Neovim plugin
After weeks of iterating, tweaking, and experimenting, this is hands-down the best setup I've used so far.
Below is exactly how to get it running.
Getting Started
1. Install Neovim
If you don't already use nvim, this will be the hardest step, but trust me, it's worth it.
Explaining Neovim itself is out of scope for this post, but there are countless great guides out there.
2. Install a Neovim Package Manager
To install opencode.nvim, you'll need a plugin manager.
I strongly recommend Lazy.nvim:
- Installation guide: https://lazy.folke.io/installation
If you're using a preconfigured setup like LazyVim, you almost certainly already have this covered.
3. Install Opencode
Opencode can be installed in several different ways. Pick whatever works best for you:
https://opencode.ai/docs#install
4. Install opencode.nvim
Go to your Neovim config and add the following to your Lazy plugin setup:
{
  "NickvanDyke/opencode.nvim",
  dependencies = {
    -- Recommended for `ask()` and `select()`.
    -- Required for `snacks` provider.
    ---@module 'snacks' -- Loads `snacks.nvim` types for configuration intellisense.
    { "folke/snacks.nvim", opts = { input = {}, picker = {}, terminal = {} } },
  },
  config = function()
    ---@type opencode.Opts
    vim.g.opencode_opts = {
      -- Optional configuration
      -- See `lua/opencode/config.lua`
    }

    -- Required for live reloads
    vim.o.autoread = true

    -- Recommended keymaps
    vim.keymap.set({ "n", "x" }, "<C-a>", function()
      require("opencode").ask("@this: ", { submit = true })
    end, { desc = "Ask opencode" })

    vim.keymap.set({ "n", "x" }, "<C-x>", function()
      require("opencode").select()
    end, { desc = "Execute opencode action…" })

    vim.keymap.set({ "n", "t" }, "<C-.>", function()
      require("opencode").toggle()
    end, { desc = "Toggle opencode" })

    vim.keymap.set({ "n", "x" }, "go", function()
      return require("opencode").operator("@this ")
    end, { expr = true, desc = "Add range to opencode" })

    vim.keymap.set("n", "goo", function()
      return require("opencode").operator("@this ") .. "_"
    end, { expr = true, desc = "Add line to opencode" })

    vim.keymap.set("n", "<S-C-u>", function()
      require("opencode").command("session.half.page.up")
    end, { desc = "Opencode half page up" })

    vim.keymap.set("n", "<S-C-d>", function()
      require("opencode").command("session.half.page.down")
    end, { desc = "Opencode half page down" })

    -- Optional: reclaim <C-a> / <C-x> behavior
    vim.keymap.set("n", "+", "<C-a>", { desc = "Increment", noremap = true })
    vim.keymap.set("n", "-", "<C-x>", { desc = "Decrement", noremap = true })
  end,
}
Restart Neovim and let Lazy install the plugin automatically.
5. You're Done
If you have a Claude Code Pro or Max subscription:
-
Start Opencode in your project directory:
opencode -
Inside Opencode, run:
/connectand log in to Claude Code.
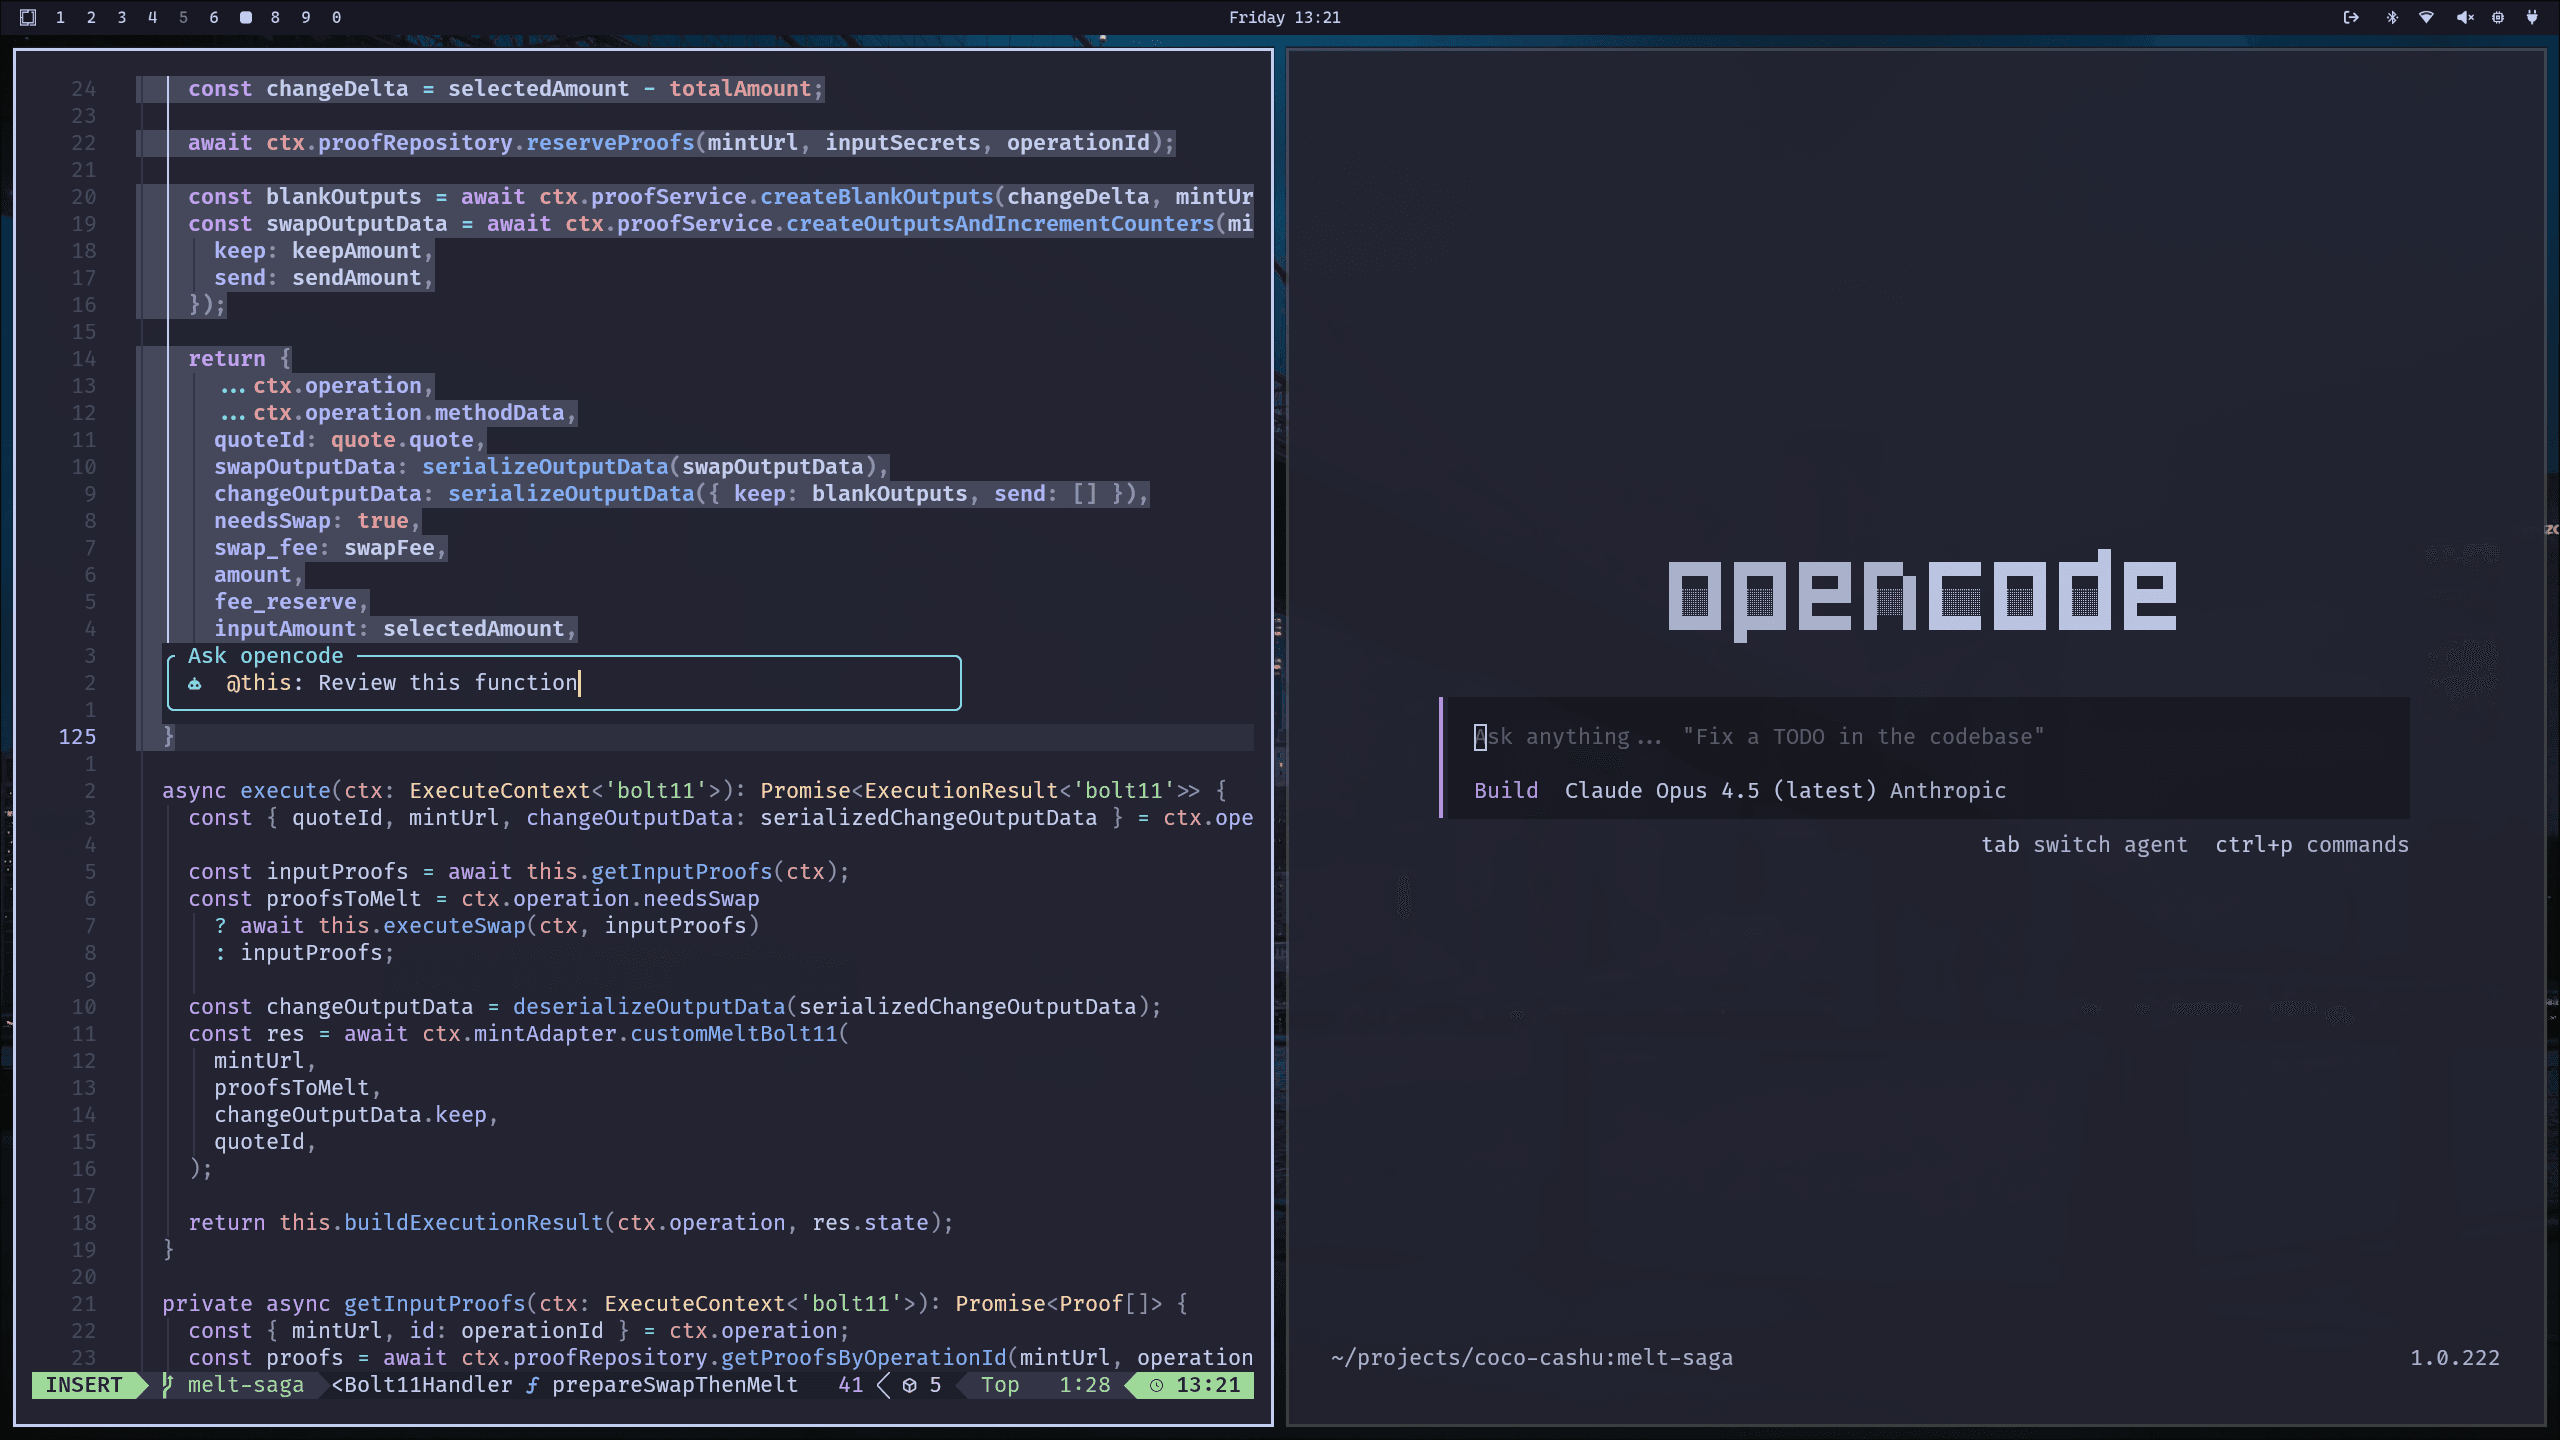
One of the best things about opencode.nvim is that it automatically connects to any Opencode process running in Neovim's current working directory.
Try this
-
Navigate to a project folder
-
Start Opencode:
opencode -
Open Neovim in the same directory
-
Open a file, select some code, and press
Ctrl-a -
A floating prompt appears—type your request and hit Enter
You'll see your prompt (with correct file and line references) appear in Opencode, and Claude will immediately get to work.
That's it.
This setup absolutely rips and for me, it's the final form of vibe coding.